Session 1
I sketched this outline with medium gray paint. It is based on photos I found on the internet. I only used a little turpentine to thin the paint so it should dry quickly. This is the end of the first session.
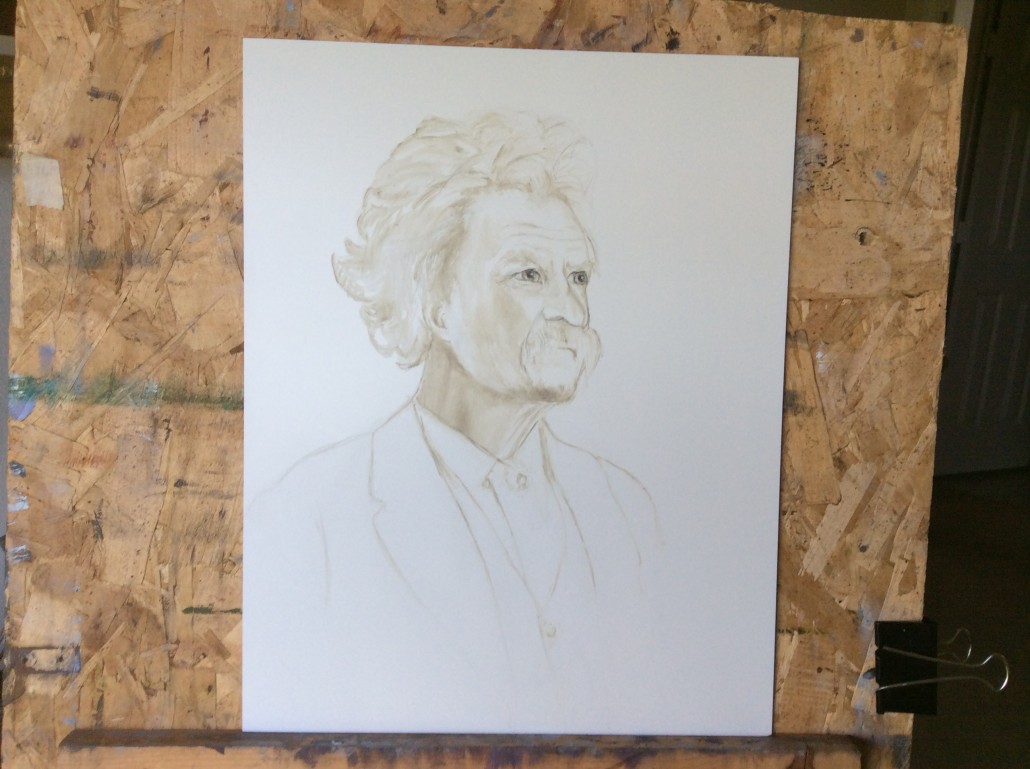
I sketched this outline with medium gray paint. It is based on photos I found on the internet. I only used a little turpentine to thin the paint so it should dry quickly. This is the end of the first session.

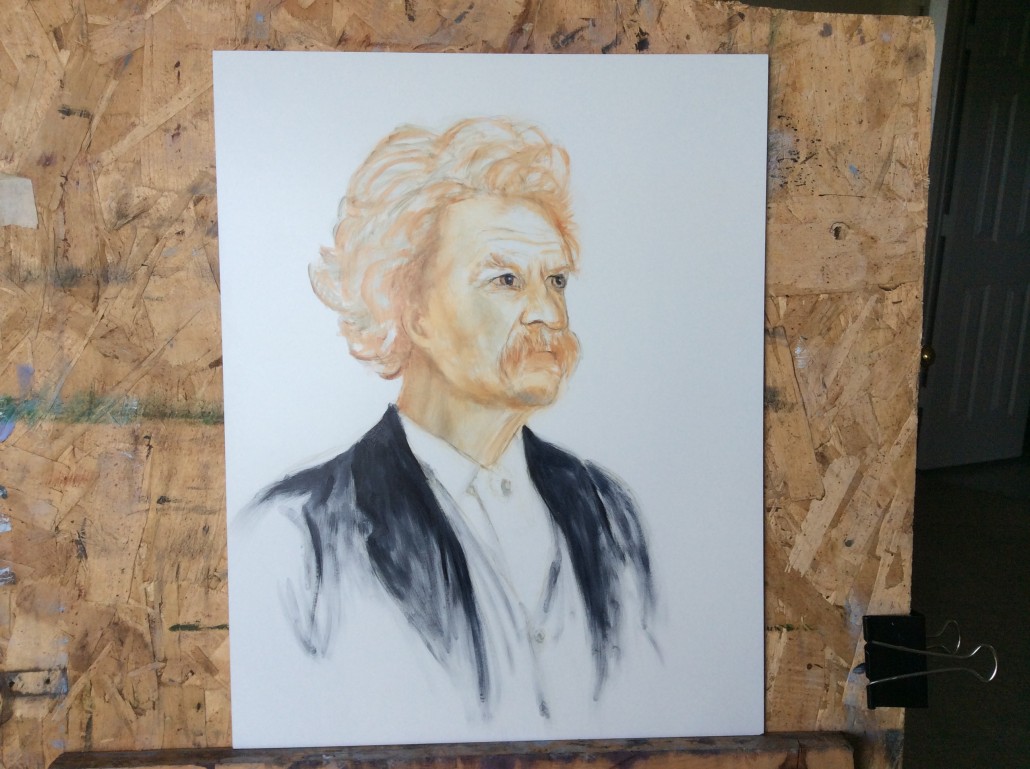
Using a neutral flesh tint made from yellow ochre, vermillion red, and white, I began with roughly defining the facial features paying close attention to the eyes. Most of the photos have him in a light suit but I prefer to paint a dark one. I gave most attention to darker areas as I find it easier to go from darker tones and work up to the proper lighter values.
I will have the light source coming from the upper right so I wiped out some of the lighter areas with a rag. It is very early so I’m not too concerned about details but want to establish a basic lighting scheme. I will let this session completely dry before proceeding. This is the end of session 2.
My goal was to further develop the facial features using flesh tone. In order to begin to achieve proper values, I sketched in the background with a mixture of yellow ochre + ivory black. This combination makes a green that will help the background recede. In the next session I will sketch in the suit. This is the end of session 3.
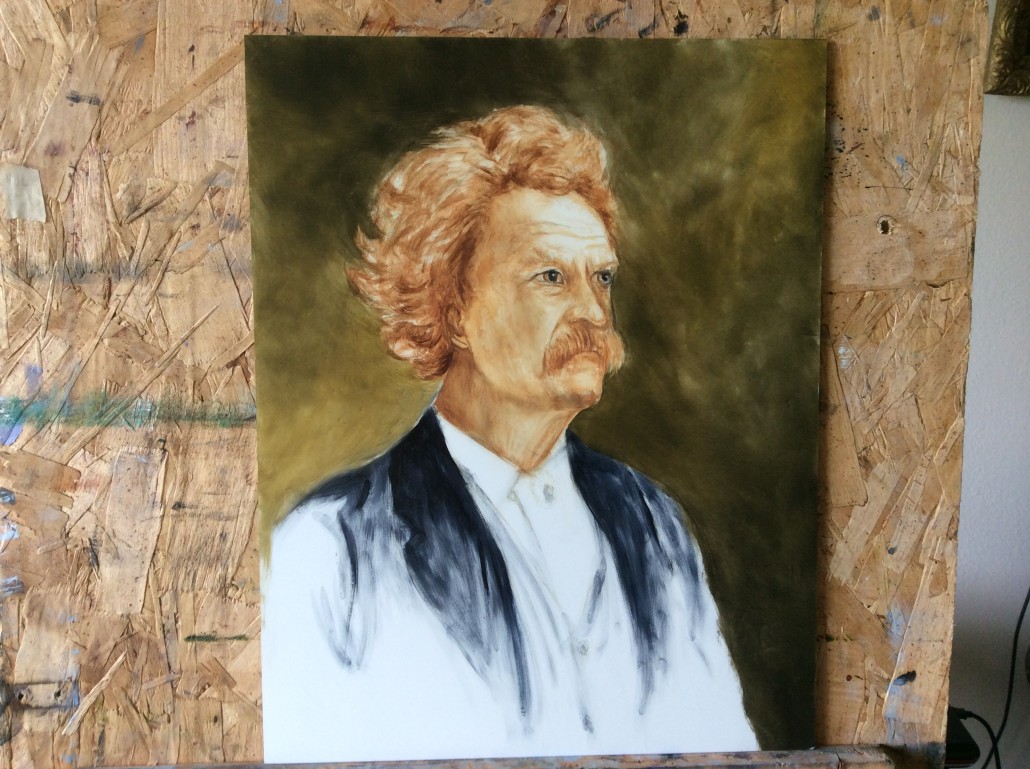
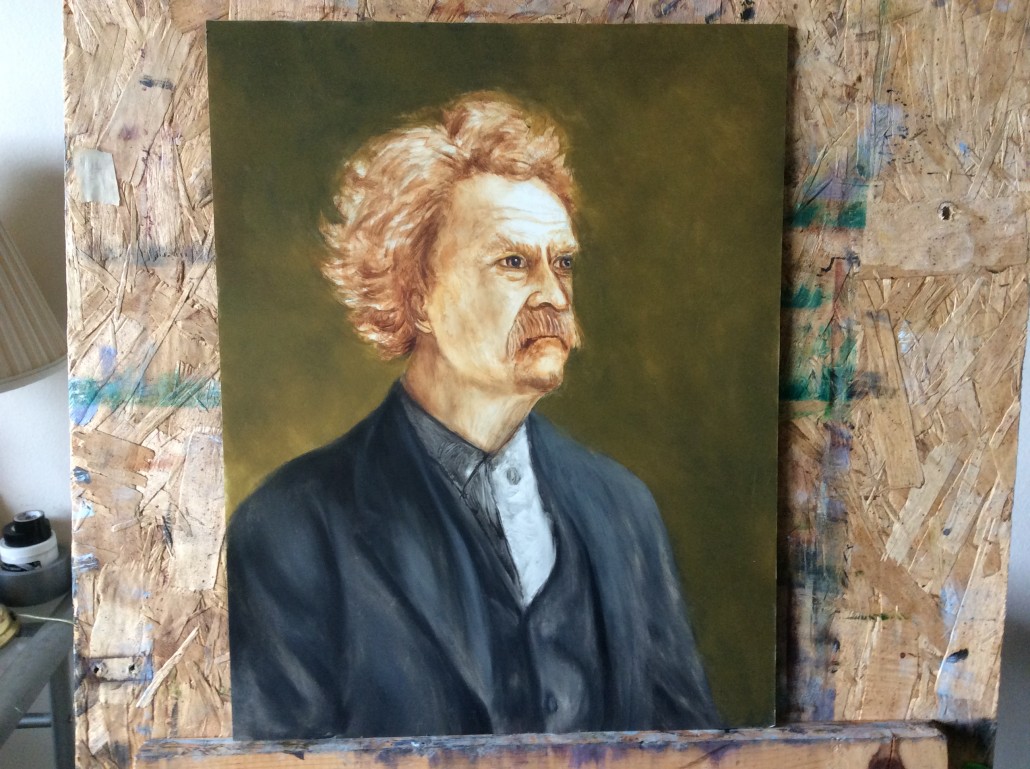
After not working on this for 10 days it was dry enough to put the second layer on the background. Using yellow ochre, black and a little burnt umber I applied the layer just focusing on a basic middle tone. I also filled in the suit with ivory black + gray keeping in mind that the light source is high right. Next session I will develop the flesh tones. This is the end of session 4.
My purpose in this session was to develop the facial features and add some detail and preliminary highlights to the hair. I also worked the eyes which, according to my research were brown. I am working from a B/W photo so the eye color is not discernible. I am only using turp to thin the colors, no medium. Once this session totally dries I will continue. This is the end of session 5.


This session was to refine the eye brows and mustache. I also added a few highlights in the hair. I added a layer of sap green over the background. This is the end of session 6.
Today I continued to define facial features and hair highlights. I added another background layer. In reviewing pictures of MT he seemed to most often be dressed in a light suit so I am considering changing the suit color to light tan/ white. This is the end of session 7.

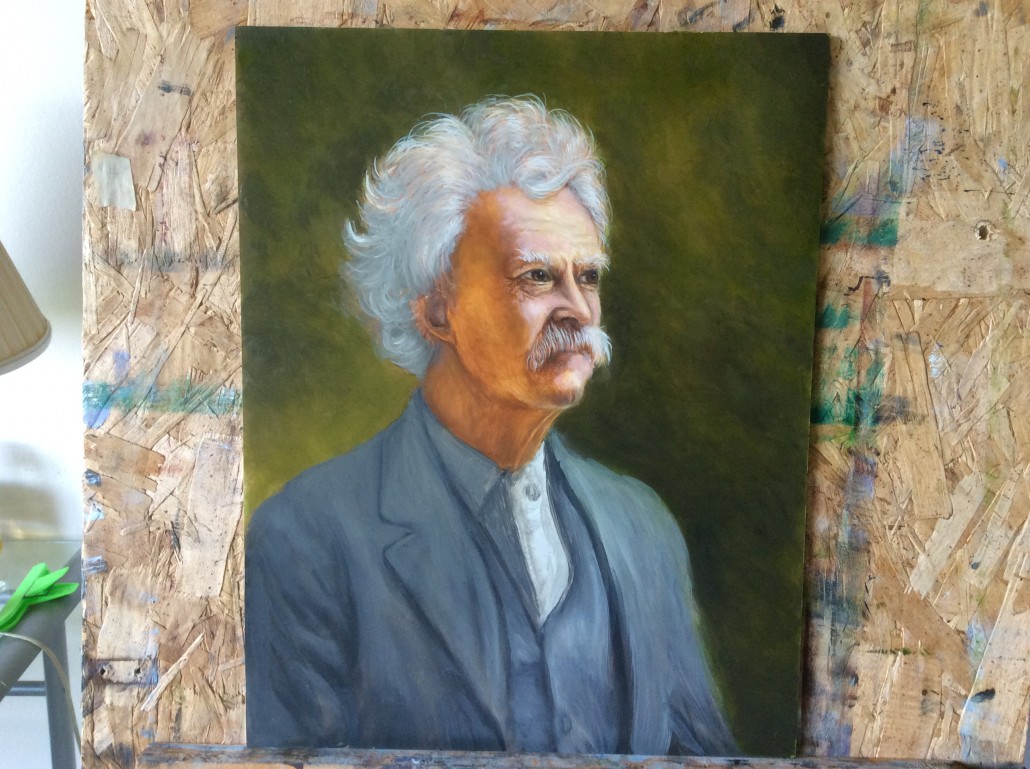
In this session I added more flesh to the right side and middle of the face. I then added gray tones in the hair. Since I decided in the last session to lighten the suit I roughly redefined the form of the vest and suit coat in various tones of gray. I will continue to lighten the suit after this session dries. This is the end of session 8.
Leaving the face and hair to thoroughly dry from the last session, I spent this whole session on his suit/shirt. Originally I intended on having him in a dark suit but most of my reference photos show him in a light gray one so I decided to go with gray. After mixing about 10 different shades of gray in various values from almost black to white, I spent this session redefining his shirt, ascot, and suit. Using a soft sable fan brush, I carefully blended the edges to soften them, esp in the folds of the suit coat. I will let this session dry and work on the face and hair next. This is the end of session 9.

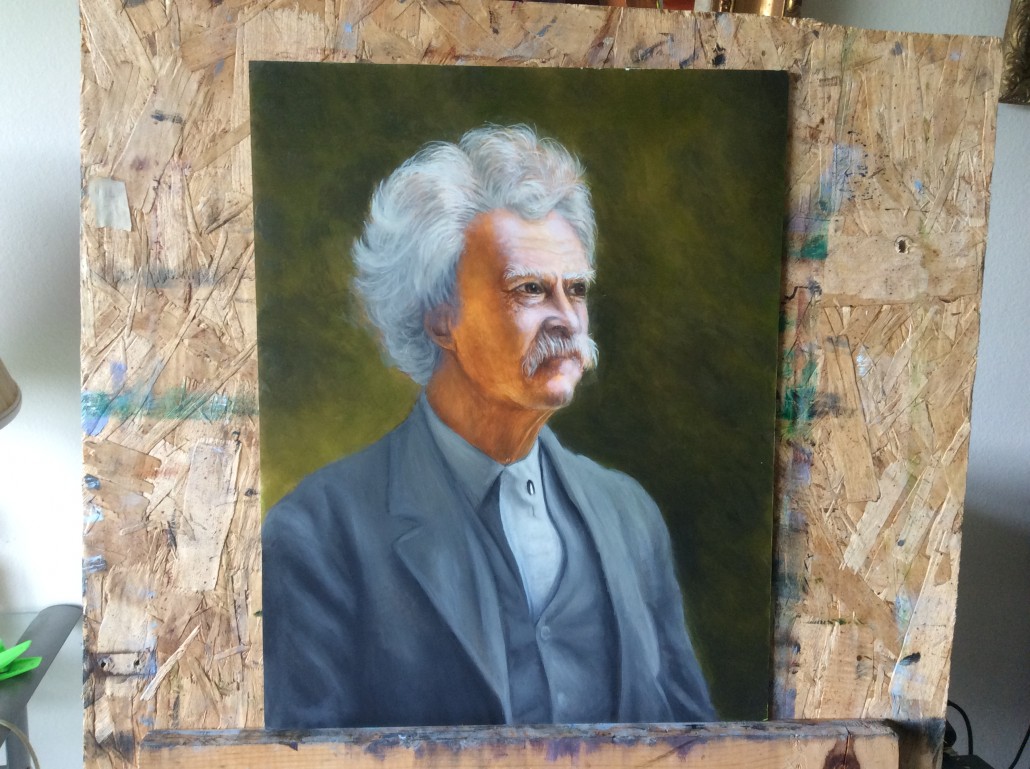
This session was intended to add some highlights to the eyebrows, mustache, and hair. I also redefined the stickpin and ascot. Next session will work on the suit. This is the end of session 10.
During this session I spent a lot of time on the vest. Since most of the photos I have seen of Mark Twain have him in a light either tan or off white suit, I tried lightening his clothing with a mixture made of burnt umber, burnt sienna, yellow ochre, and white. I started with the vest as an experiment. Satisfied with changing the vest from a gray color I quickly roughed in the right side of the suit coat to see the effect. At this point I plan to lighten the suit a little more. The gray has served as a good value study which should help me to add the correct values as I change to the lighter tan color. Since I am working from a B/W photo I will evaluate as I go. This will end session 11.
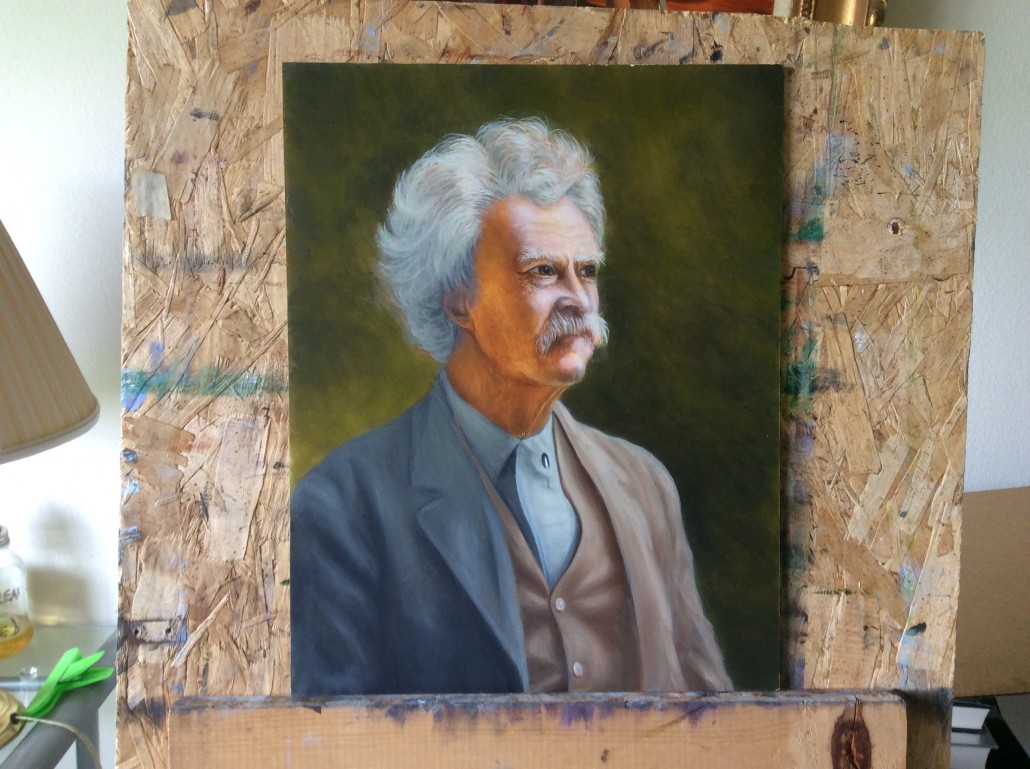

My goal was to rough in the left side of the suit. Once it has dried I will develop the lights and darks in the suit coat moving toward lighter tones of light tan/white. Looking back at the painting when the suit was gray, I prefer the latest tan color. Next session will involve correcting facial features and working the skin tones. This is the end of session 12.
Since the suit is still drying I decided to develop facial features and skin tone. Working mainly on the left side I added darker flesh tones and corrected the ear somewhat. I redefined the shape of the nose and chin a little. At the end of the session I added more highlights to the hair eye brows and mustache. I will let this dry and most likely work on the background next. This is the end of session 13.

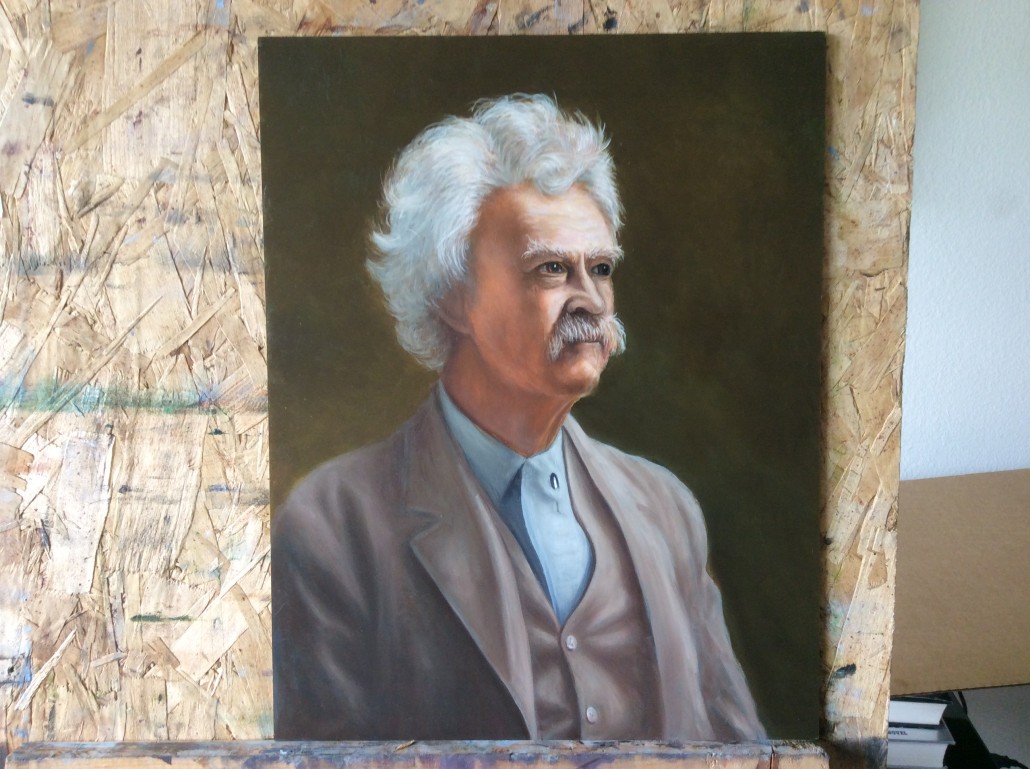
My first step was to lay in the background again as it was too green. I mixed up a batch of yellow ochre, ivory black, burnt umber, and a little sap green. I purposely put in a darker layer on the right and a lighter layer to the left which will help to develop depth. I also mixed some flesh tone and redefined features again and added highlights to the eye brows, mustache, and hair. To soften the edge of the hair I slightly blended the new background layer against the hair. I added more shadow along the left forehead left cheek, chin, and neck. I blended in the shadow with a soft sable blender. My next session will be to lighten the suit more and add white to the shirt and ascot. This is the end of session 14.
I spent this session working around the eyes and forehead. I also added middle tones in the area between light and shadow. Features like the nose need work
as well as the area below the chin. My primary goal next session will be to lighten the suit more and add white highlights to the ascot and shirt. This is the end of session 15.
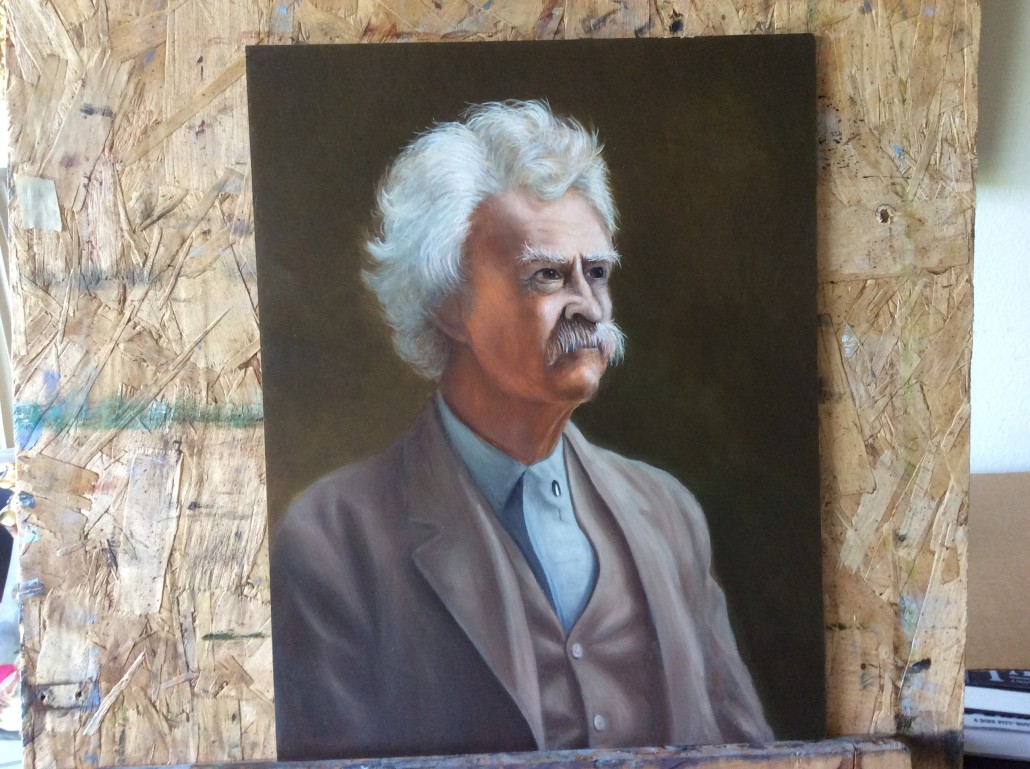
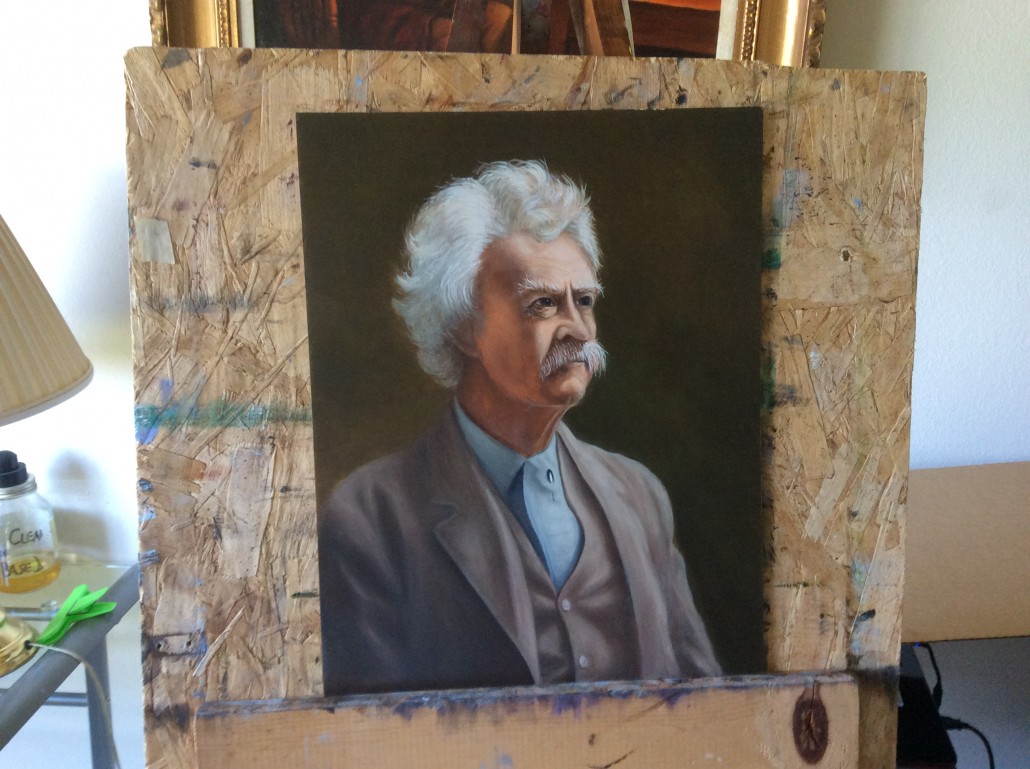
This session was spent adding flesh tone to the face. After reviewing it I see that the facial tones are still too white. Even though the figure is immersed in strong white light the flesh tones are not natural enough. I feel like the facial features are in place but once it is dry, I will again add flesh tone. In looking back over recent sessions I need to exercise more patience and not try to rush the end result. To insure that the face is sufficiently dry I may work on lightening the suit, ascot, and shirt in the next session. This is the end of session 16.
This session was spent working facial tones, redefining the nose and ear. I added highlights to the suit and ascot and redefined the stickpin. The painting is taking shape now so I will closely scrutinize it regarding the next session. This is the end of session 17.
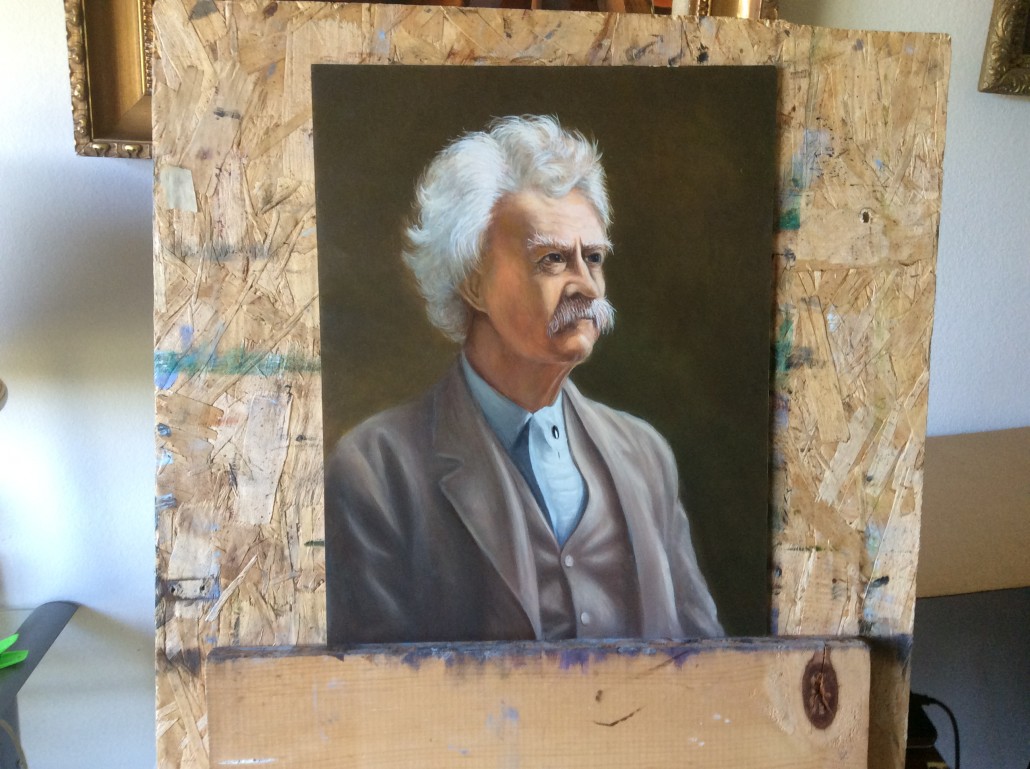
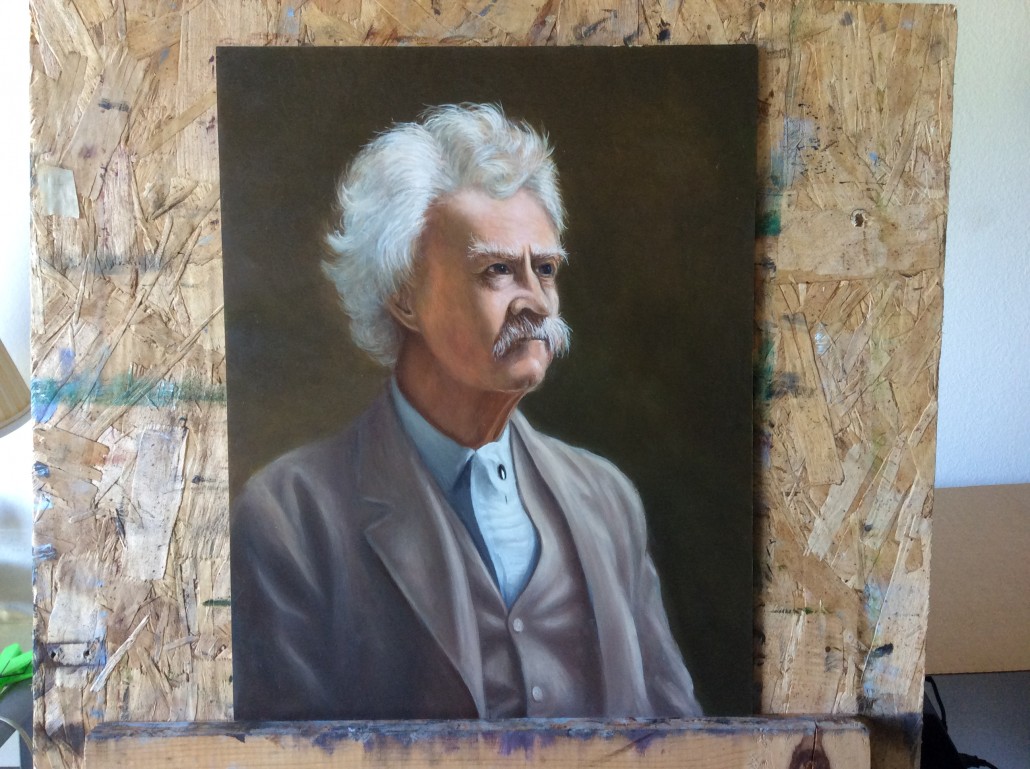
In this session I redefined the ear and added flesh tones in places. The features are set now so I will go over the entire painting and see what I need to fix. Today I also redefined the ascot a bit. This is the end of session 18.
My efforts in this session included refining the facial features, chin, and hair. I also added flesh tones to the face both in the shadow areas, middle tones, and highlights. Since the flesh looks too white in this photo I checked the painting and noticed that the flesh tones are more pronounce in the painting and not as washed out as it appears here. I still need to blend the painting more and will do so before the next session. The features are now set and except for the flesh tones I am about finished. Perhaps one or two sessions are all that remain. This is the end of session 19.
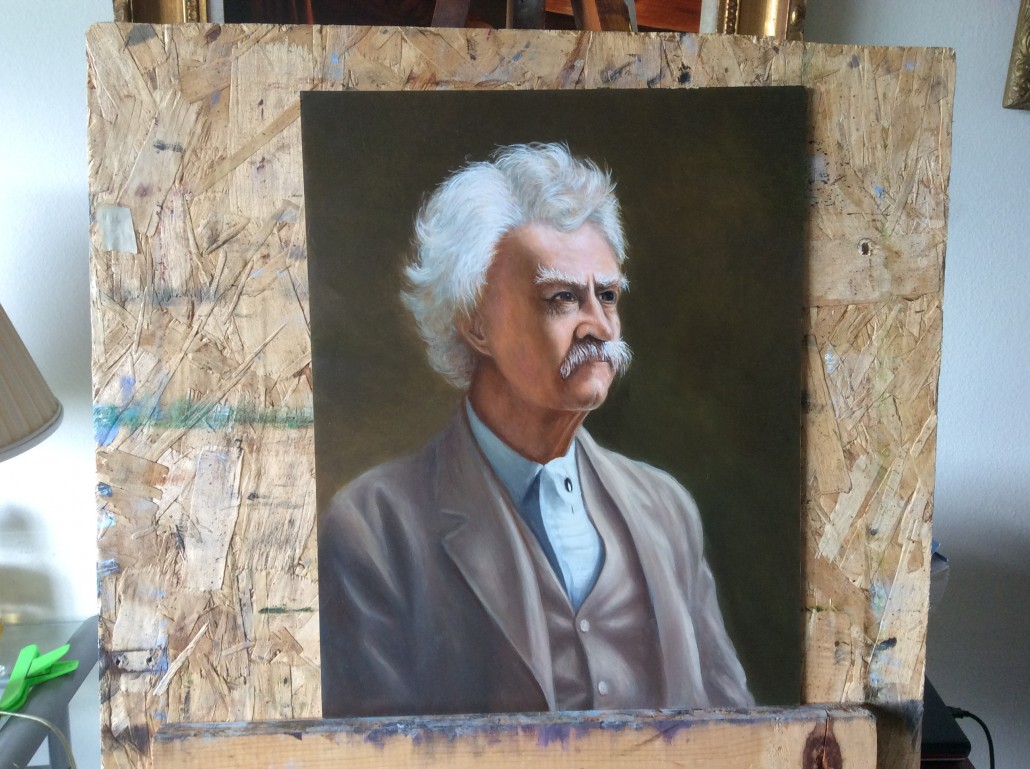

In this session I added another background layer. I also added some darker gray to places in the hair. The next session will be devoted to fixing anything I see that doesn’t look right. This is the end of session 20.
This session was spent adding highlights where necessary. I also added dark tones behind the ear and redefined the hair adjacent to it. Using a soft, dry, sable fan brush I blended the hair along the left side. I also corrected the mustache a bit. After reviewing my reference photos I feel like I am finished so, except for last minute tweaking, should I notice something, I will let the painting dry thoroughly before I varnish it. This is my final session. I am also including a pic I will call session 21A which is a detail of the face.


After studying the painting I decided to add some age lines to the forehead. I also added final highlights to the hair and ascot. Since I feel that I have gone as far as possible in refinements I call this the final session. The painting will have to dry thoroughly as I applied some heavy impasto paint in the highlights. I will test the degree of dryness in a few weeks and do a varnish layer. I signed the painting with my initials in the lower left hand corner. This ends the Mark Twain portrait project.
