Meeter

Session 1

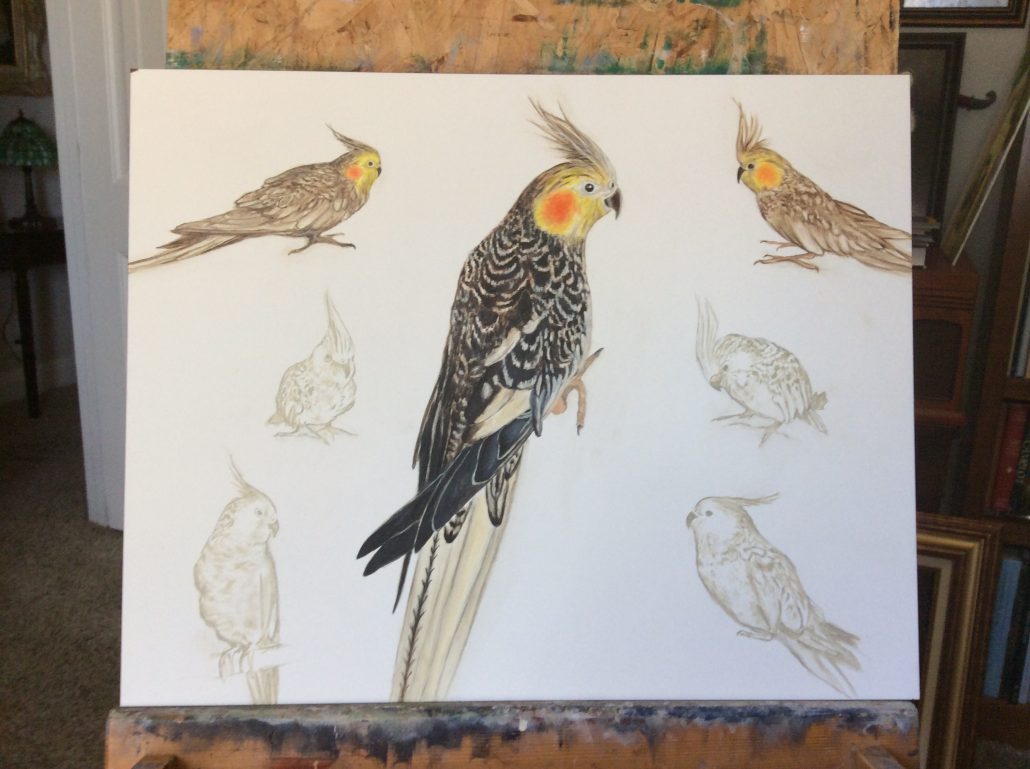
This first session includes the preliminary work of selecting and arranging photos. The main photo of Meeter is surrounded by six various views which are lightly sketched in for positioning. After drawing Meeter in light pencil I go over it with a medium value gray oil paint thinned with a little turp to the consistency of water color. When dry this will serve as a schematic for me to follow when adding color. In order to depict as much detail as possible I drew Meeter in a larger than life version which will easily dominate over the smaller drawings and be the main focal point for the painting. I will handle each of the additional six drawings in a similar manner by first lightly drawing them in pencil and then going over the drawing with light gray oil paint to establish form. The six additional views of Meeter won’t have as much detail as the center drawing as they will be quite a bit smaller but still retail Meeter’s distinctive features as much as possible. So in session 1 my main goal was to achieve an interesting composition with the figures having proper shape and proportion while establishing the feather pattern in the main drawing as close to the photo reference as possible. I included a close up view to better show the details so far. This is the end of session 1.

Session 2

It was my intention in this session to rough in the various views of Meeter to complete the composition having each figure directing attention to center. I used the same value medium gray oil paint for these as I did for the main portrait. This session was comprised of three separate sittings of two hours each over the past two days. Once these figures are completely dry I will begin application of color. This is the end of session 2.

Session 3

Now that the center figure is completely dry I began adding color. I started with the head using Naples Yellow with some gray and a little raw umber. I used black with a little gray for the eye leaving a small highlight as in the reference photo. I defined the plume with burnt umber, gray and a little Naples Yellow. For the distinctive circle I mixed Naples Yellow with a little Cadmium orange and some vermillion for the red center. I keep the paint thin for now as I will paint over it later.

I used gray with burnt umber for the beak with a touch of white for the highlight. Using the gray under painting as a guide I worked the feather pattern with burnt umber thinned with a little turp and proceeded about half way down the torso. As I work the feathers I leave the white color of the canvas to show through at the tips of the feathers. These will be painted over later. This will be allowed to dry before any reworking. I will work down the torso to the tail feathers next. This is the end of session 4.

Session 4

This session was devoted entirely to finishing the main figure. I worked the bottom half of the torso working to define the tail feathers. I also redefined the feather pattern on the upper half with raw umber and burnt umber. After this session dries I will go over the figure to add final touches where necessary. In the meantime, the next session will be devoted to developing the smaller figures starting with the upper right and upper left. This is the end of session 4.

Session 5

To begin this session I redefined Meeter’s tail feathers and overall feather pattern. Then I worked the top two views using burnt umber, Naples Yellow, cadmium orange and vermillion for the head. As with the main central figure I wanted to define the feather pattern and general body shape. I painted over the original gray body drawing that had completely dried using only burnt umber letting some of the surface show through to indicate the feather pattern. This is the end of session 5.

Session 6

I have included two photos showing the painting of the other four images of Meeter. The process for these was the same as session 5. Once they dry I will go back into each one and better define their colors, feather pattern and any other distinctive features. This is the end of session 6.

Session 7

My goal in this session was to develop each view of Meeter by emphasizing darks and any distinctive features. I will examine all the photos again to see if any improvements can be made after this session dries. This is the end of session 7.

Session 8

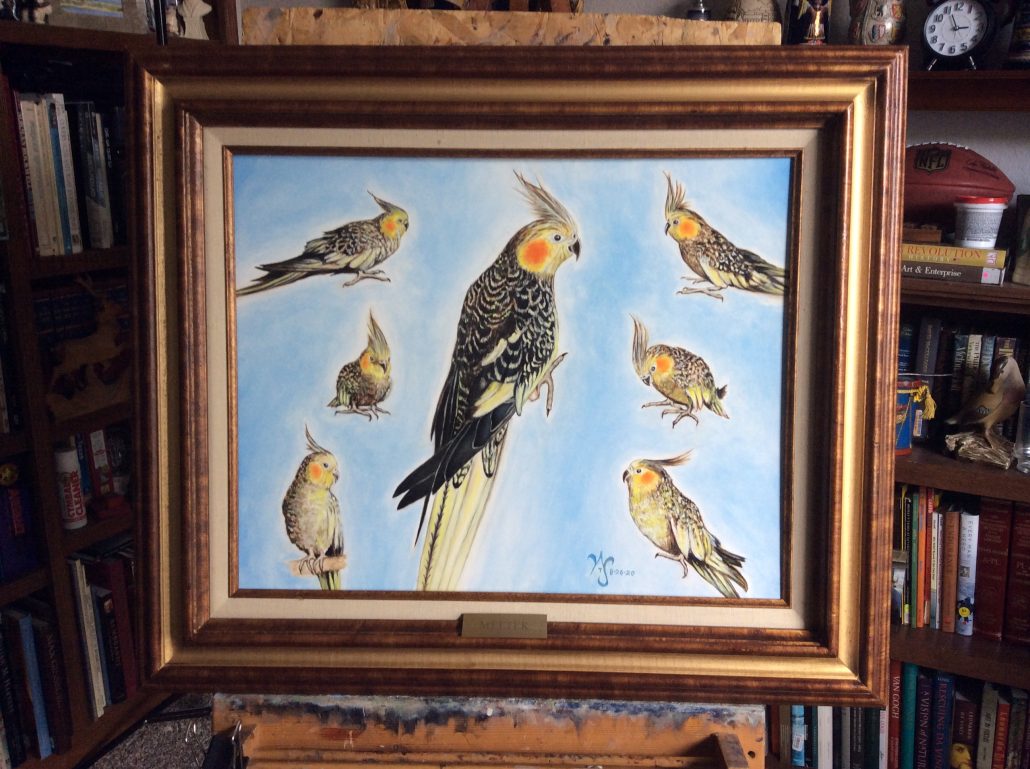
This session was to add the background color. Before starting I did a study of three blues: Ultramarine Blue, Cerrulean Blue, and Cobalt Blue. I painted three swatches of each on a small piece of canvas board and held each color up to the painting to see what blue looked the best against Meeter’s colors. I decided on Cobalt Blue. Lastly, I will look for any corrections and sign the painting and when it is totally dry I will add a coat or two of Damar varnish. The varnish will bring out the colors and protect the surface. This is the end of session 8.

Session 9

This session included making some final corrections and refinements. Once those were dry I added a layer of Damar varnish which brings out the color and protects the surface. I also fixed the panel into the frame and added the mounting wire. I signed my initials and added the date of completion and nameplate. This is the end of session 9 and completes this art project.

© William T. Smith, when applicable. All of the original artwork as it appears on this website is the hand-painted work of William T. Smith. Any original artwork was used for reference only and is not intended for commercial use or mechanical reproduction. Some original painting descriptions include text content from Wikipedia.org.
This website was designed by Jonathan Smith. If you're interested in a website please visit smith-digital.com for details. - Enfold WordPress Theme by Kriesi